
Microsoft’s Windows 11 operating system has a tonne of functions, but not all of them are well-known or frequently used. The company provides the Wireless Display functionality, which enables wireless connections between external devices and the computer’s display.
The Windows 11 operating system does include the Wireless Display capability, but it is an optional feature, so you must install it in order to use it. Thankfully, installing the Wireless Display on your computer doesn’t involve a difficult procedure.
This step-by-step tutorial will show you how to use the built-in Settings app on your Windows 11 computer to quickly and effortlessly install and enable the Wireless Display feature.
How to make Windows 11’s Wireless Display feature operational
Step 1: On your Windows 11 PC, launch the Settings programme. To do this, either search for the application in the Start Menu and choose it from the search results, or press Windows + I on your keyboard.
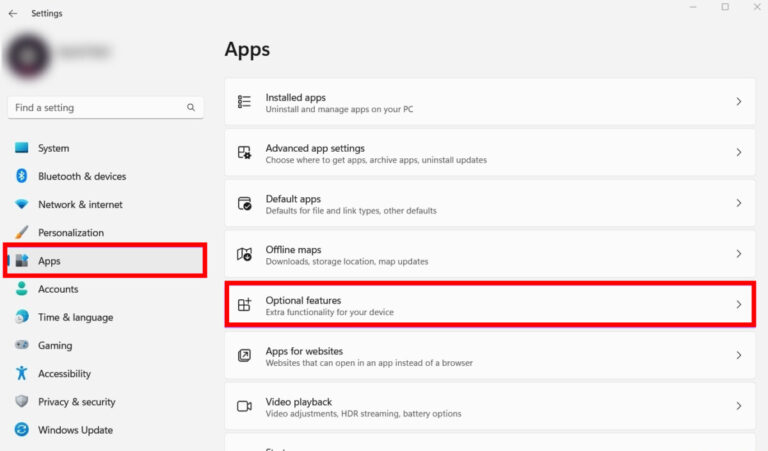
Step 2: After the app has opened, click on “Apps” in the left sidebar, and then choose “Optional Features” from the list of options on the right side of the window.
Step 3: On the page where you can configure optional features, click “View features” to the right of the “Add an optional feature” area.
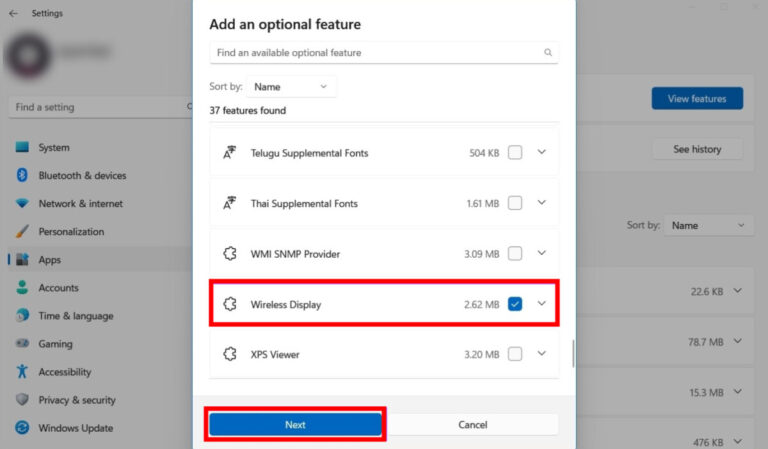
Step 4: On the dialogue box that appears, scroll down and check the box next to “Wireless Display” before selecting it and selecting Next.
Step 5: Select the “Install” button on the following screen.
I’m done now. The Windows 11 operating system will automatically install the required files on the device to enable the Wireless Display feature once you have followed this step-by-step tutorial on your computer.