
Today’s topic is Amazon Pay, a potential payment option for the eCommerce business. You’ve probably used it at least once in your life; so, this post will show you How to Set Up WooCommerce Amazon Pay Integration for Your Store. Continue reading to learn more!
Increasing conversion rates through payment gateway selection? Is that even possible? Yes, the answer is YES!
And in this essay, we’ll show you how.
Why should you integrate Amazon Pay with WooCommerce?
Amazon Pay is one of the most well-known payment options nowadays. With the growth of technology, the three most significant components overall are speed, security, and convenience. And Amazon Pay has met all of these conditions for their hundreds of millions of active users. If you already have an Amazon account, you may skip the account registration and re-enter your shipping and billing information to proceed to the checkout. To boost performance, it is still constantly upgrading best practises, learnings, and technology.
According to their statistics, 91 percent of users have elected to stick with Amazon Pay over the years.
So, what are the reasons for this assertion? This is why: User-friendly interface: With just a few clicks, customers may complete their check-out phase at any time and from any location.
Customers would prefer not to provide their credit card information on many websites. Because Amazon Pay is regarded as a secure payment container, consumers can use it on websites that allow Amazon Pay as a payment method.
Credibility: Amazon is a well-known global brand. Amazon Pay is linked with a high level of trust; this trust extends beyond Amazon Pay to businesses who accept Amazon Pay as a payment option. Amazon Pay is a payment method to consider if you want to build trust with your clients.
Quick transaction processing: If customers utilize Amazon Pay, they will no longer need to bring out their credit cards to make a purchase.
The elimination of the obligation to create accounts on several websites allows for less friction in the checkout process.
Support different currencies: By retaining the local currency experience from the moment of purchase throughout the shopping excursion, users can save currency translation expenses from their credit card issuer or bank.
How should you set up your Amazon Pay WooCommerce integration?
In this section, we will change additional parameters to ensure that your integration works properly while connecting the two platforms.
It may take some time and several clicks, so keep a close check on everything or you may have to start all over again!
Step 1: Examine the Merchant details.
The Amazon Pay Merchant account details are conveyed in the image by following the processes shown previously. Input fields should not be adjusted unless the account used in this shop needs to be changed:
Step 2: Turn on Subscriptions and the Sandbox.
Following that, you will be required to select “Subscriptions support” and “Use Sandbox.” It is advised that you select “YES” for both dropdown options. Once configured and operational, the first integration will enable recurring payments for your WooCommerce Subscriptions.
During testing for the “Sandbox,” no actual money is gathered. You must have an Amazon Pay Sandbox test account to test Amazon Pay Sandbox mode transactions.
Step 3: Modify the advanced options
Use the IPN endpoint settings provided by the plugin in your Seller Central account. Configuring IPNs provides you with more flexibility over how alerts and order statuses are delivered to your organization.
We must also make adjustments to the “Payment Settings” area in addition to the IPN URL. This includes the following two dropdowns:

Payment Capture: based on your preferences, select a payment processing method:
Authorize and Capture: When the authorization and capture procedures are completed, the order is complete.
Authorize: only authorizes payments when an order is placed; it does not actually process the payment.
Later on, capture must be manually activated in order to begin. Don’t Authorize: When you enter the authorization number, no payment transaction is initiated; only when you place the order is a payment transaction initiated. This feature should not be used to manage long-term pre-orders. Authorization processing mode: This setting controls how the Amazon Pay API sends authorization results to your store.
He liked the synchronous processing option, which synchronizes processing across all device nodes. When the money is processed, the outcome is immediately available.
When pending API calls are made, the Amazon Pay API may return a Pending response. Choose this processing option if you are selling high-value items. To enable asynchronous mode, Payment Capture must be set to “Authorize and Capture.” Following that, you may change the Amazon Pay button in whatever language and color you want:
Language of the button: Select the desired language for your website. In this configuration, the label will change languages, but the entire Amazon Pay experience, including emails sent to buyers, will remain in the same language.
Choose one of three button colors: gold, light grey, or dark grey. Typical checkout button: Tick the checkbox to hide the standard checkout button on the cart page. In this case, Amazon Pay will be the only choice for payment.
Step 4: Customer Checkout Procedure
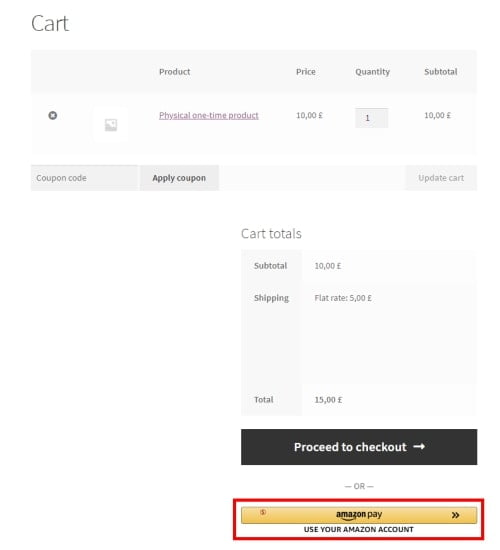
Buyers may begin the checkout process earlier by utilizing Amazon Pay in addition to their Amazon account. On your Cart page, your Amazon Pay button will look like this:
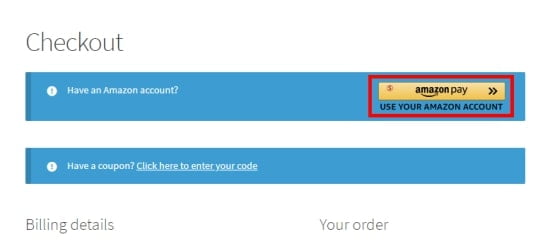
Then we have the Checkout page:
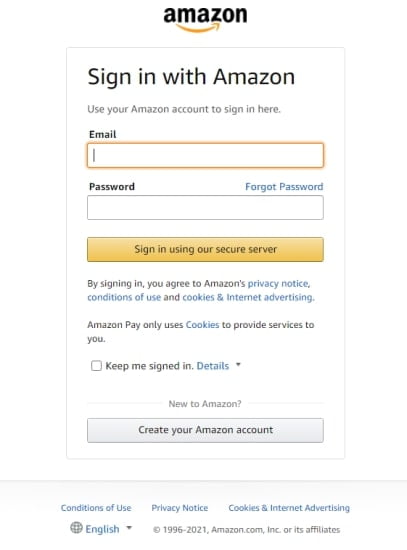
When a customer clicks on the Amazon Pay button, they are redirected to the Amazon Pay hosted page, where they can log in with their Amazon account and give payment and shipping details for the transaction:
Once the customer clicks “Continue to Checkout,” they will be directed to the checkout page, where all of their information will be gathered from their Amazon account. The deal may be completed when the buyer reviews the specifics:
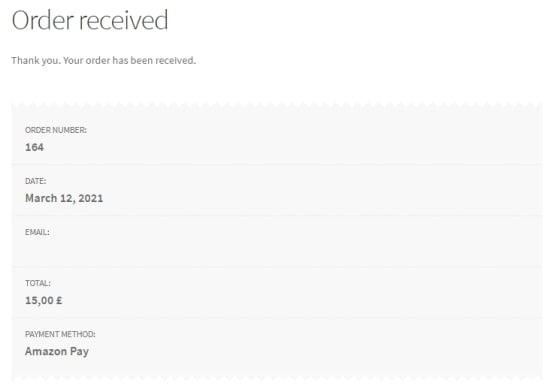
Last but not least, we cannot pass on the Thank You page:
Step 5: Flow of Order Fulfillment
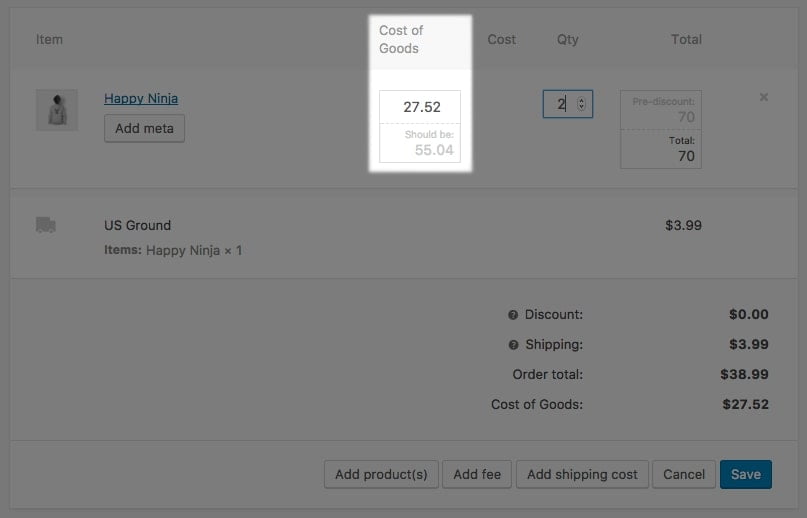
When you open an Amazon Pay order in your WooCommerce admin, you will see an order fulfilment flow widget that allows you to choose several action options based on the transaction’s status:
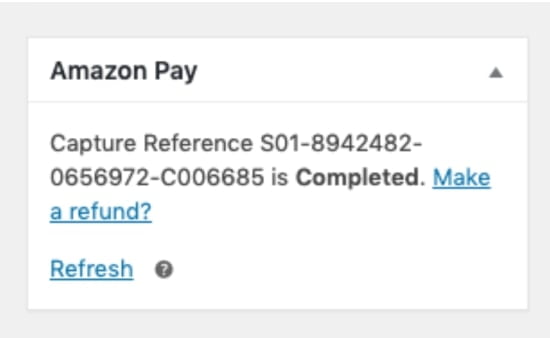
You will be able to choose the following widget elements:
Authorize: Because Amazon starts processing the transaction as soon as you verify it and start processing it, you should capture payment at this point.
Authorize and Capture: Before Authorizing, capture the complete order amount.
Capture: Amazon recommends capturing money after you have completed the purchase.
Close authorization: allows money to be transferred while also closing the account.
Refund: If you have recorded an open payment, you may refund it.
How do you resolve some frequent problems when connecting with Amazon Pay?
It is unavoidable that you may encounter various stumbling blocks while configuring your Amazon Pay WooCommerce integration.
Don’t worry, the following suggestions may assist you:
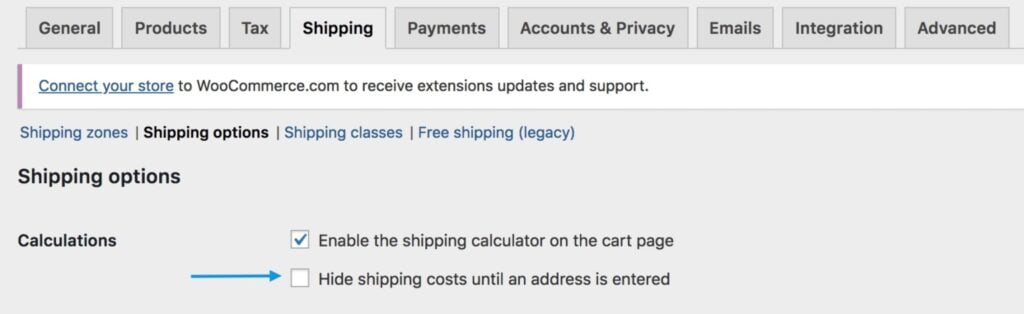
There are no shipping costs.
Enabling the Hide Shipping Costs option increases the chances of this happening. To remedy the issue, navigate to WooCommerce > Settings > Shipping and uncheck the box below:
“The fields shown above are necessary.” message of error
Your Company Name and/or Address Lines 2 fields are most likely set to required. If this is the case, hover your mouse over Appearance > Customizer > WooCommerce > Checkout and select “Hidden” or “Optional.”
How do you integrate Amazon Pay with your WooCommerce store?
You may want to set up an Amazon Pay account for your WooCommerce store now that you understand how popular it is with customers.
This section will walk you through the integration of Amazon Pay with WooCommerce:
Step 1: Complete the criteria.
Before you begin, there is something you should know about the Amazon Pay WooCommerce integration’s needs.
Unfortunately, Amazon Pay is currently only available in stores located in a few select countries. As a result, if your address is not on the list, you may need to consider using an alternative payment gateway:
Furthermore, online merchants who want to utilize Amazon Pay must obtain an SSL certificate for their online brand as well as sign up for an Amazon Payments Merchant account.
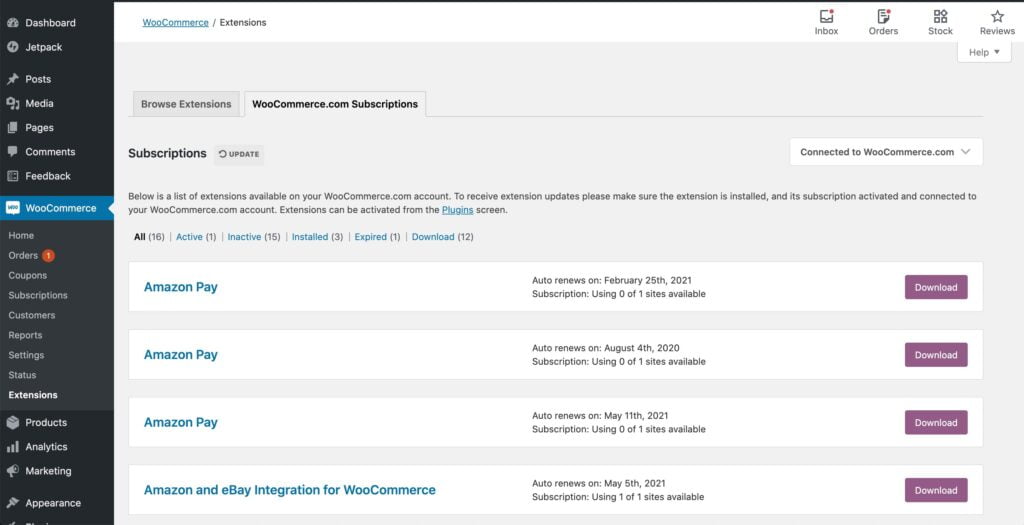
Step 2: Set up the plugin
If you’re ready to use the Amazon Pay WooCommerce integration, it’s time to get the plugin. This will only take a few minutes; simply go to WooCommerce > Extensions > WooCommerce.com Subscriptions and click “Download” next to the Amazon Pay icon, as shown below:
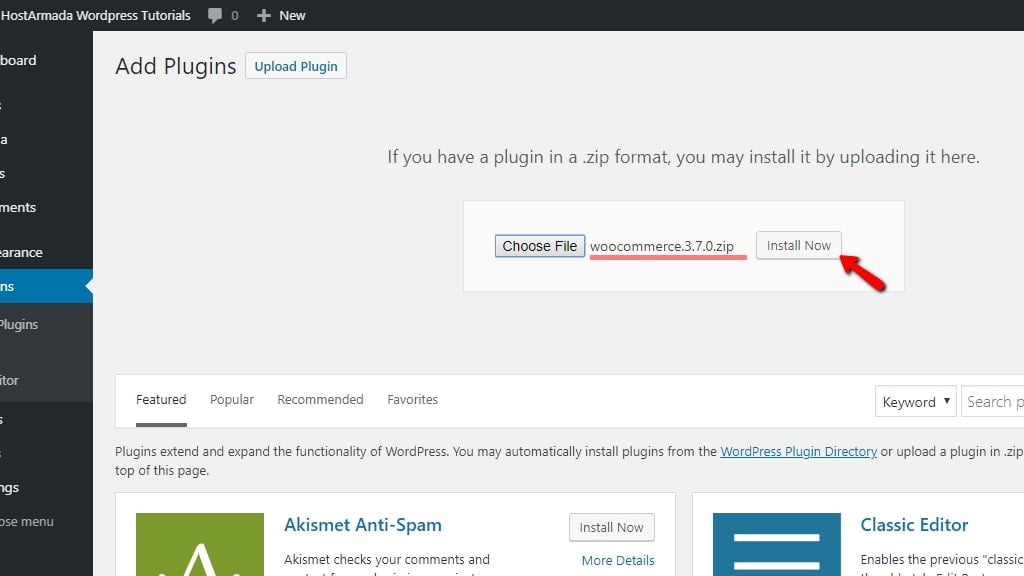
Then, on your Plugins > Add New page, use the “Choose File” button in the centre of the screen to upload the downloaded file:
Step 3: Register for an Amazon Pay account.
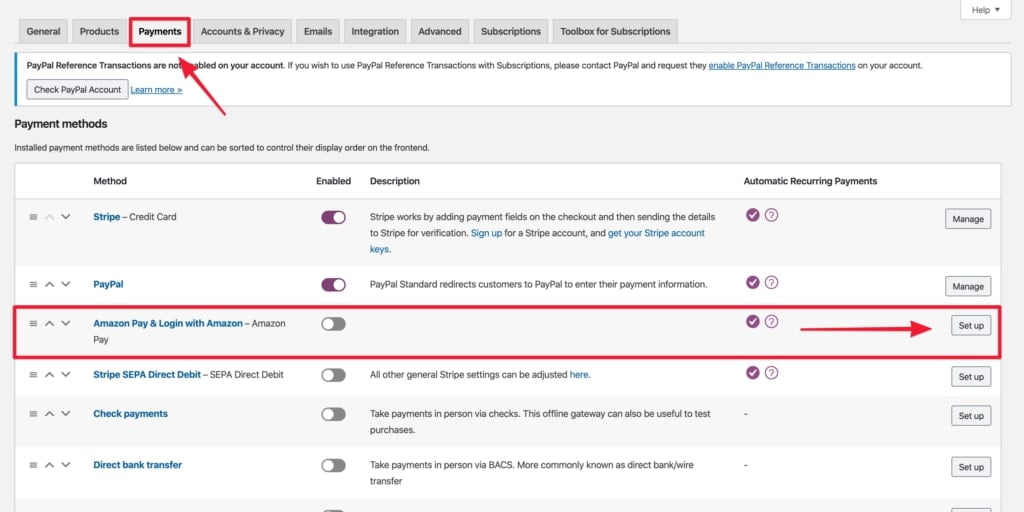
When you go to WooCommerce > Settings > Payments and choose “Amazon Pay,” the system will instantly transport customers to the settings menu, where you can add some crucial information about your online business.
First, choose your area from the “Payment Region” dropdown option, and make sure it matches what you have in your Amazon Pay Merchant account. Then there’s the “Enable/Disable” option, which you may turn off if you wish to disable Amazon Pay:
After completing the preceding steps, click “Connect to Amazon Pay” to access the Amazon Pay Merchant Registration screen.
Choose your country and then “Create an Amazon Payments merchant account.”Choose the first choice if you haven’t already.
If you already have your own Amazon Pay Merchant account, click “Sign In.”
Finally, once you’ve completed the Amazon Pay onboarding process, you’ll be able to transfer your Amazon Pay credentials into WooCommerce by selecting “Transfer Access Keys”:
Order processing
The previous version of the plugin is mostly to blame for this issue. You should update them to 2.0.0 or higher; if processing orders fails, see the troubleshooting guide here.
Finishing up
Finally, selecting Amazon Pay as one of your payment methods would undoubtedly improve your consumers’ shopping experience. We hope that this post on How to Set Up Amazon Pay WooCommerce Integration will assist you in gaining an understanding of this payment gateway and so increasing your income in the future.